

Cloud-init is a widely used industry standard for customizing cloud instances. This guide will walk you through the process of creating and using cloud-init with Proxmox, allowing you to automate the initialization of virtual machines.
Prerequisites
- Proxmox VE installed and configured
- Access to the Proxmox web interface
- A cloud-init compatible OS image (e.g., Debian Cloud Image)
Steps to Create a Cloud-Init Template
1. Download a Cloud Image
First, download a cloud-init compatible image. For this example, we'll use Debian:
wget https://cdimage.debian.org/cdimage/cloud/bookworm/latest/debian-12-genericcloud-amd64.qcow22. Create a New VM
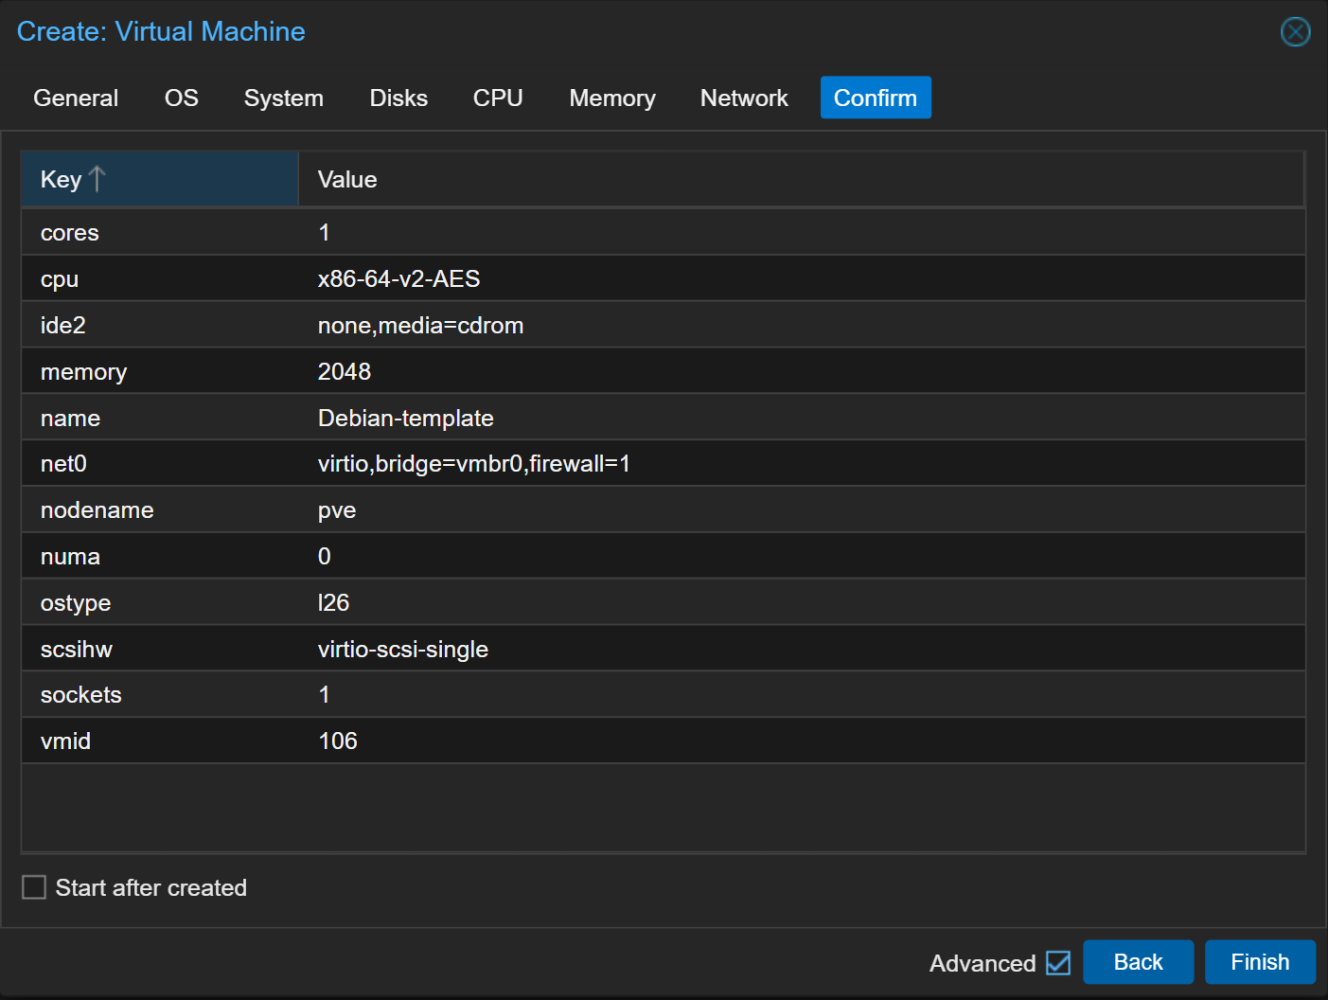
- In the Proxmox web interface, click on "Create VM"
- Set a name for your VM and click "Next"
- In the OS tab, select "Do not use any media"
- In the System tab, ensure "QEMU Agent" is checked
- In the Disks tab, remove the default disk
- Complete the wizard without adding any network devices
3. Import the Cloud Image
Use the following command to import the downloaded image:
qm importdisk <vm_id> debian-12-genericcloud-amd64.qcow2 <storage_name>Replace <vm_id> with your VM's ID and <storage_name> with your desired storage location.
4. Configure the VM
- In the Proxmox web interface, select your VM
- Go to "Hardware", then "Unused Disk"
- Edit the disk and set "Bus/Device" to "VirtIO Block"
- Add a CD-ROM drive and set it to use a cloud-init drive
5. Configure Cloud-Init
- Use the following command to add a cloud-init drive to your VM:
qm set <vm_id> --ide2 local-lvm:cloudinitThis command attaches a cloud-init drive to the IDE2 interface of your VM. Replace <vm_id> with your VM's ID
6. Configure Serial Console
To set up a serial console, which can be useful for debugging or accessing the VM without a graphical interface, use these commands:
qm set <vm_id> --serial0 socket
qm set <vm_id> --vga serial0
These commands configure the VM to use a serial console and set the VGA to output to the serial console.
7. Configure Cloud-Init
- Go to the "Cloud-Init" tab in your VM's settings
- Set up the following: User Password SSH public key (if desired) IP configuration (if not using DHCP)
8. Convert to Template
Once configured, convert your VM to a template:
qm template <vm_id>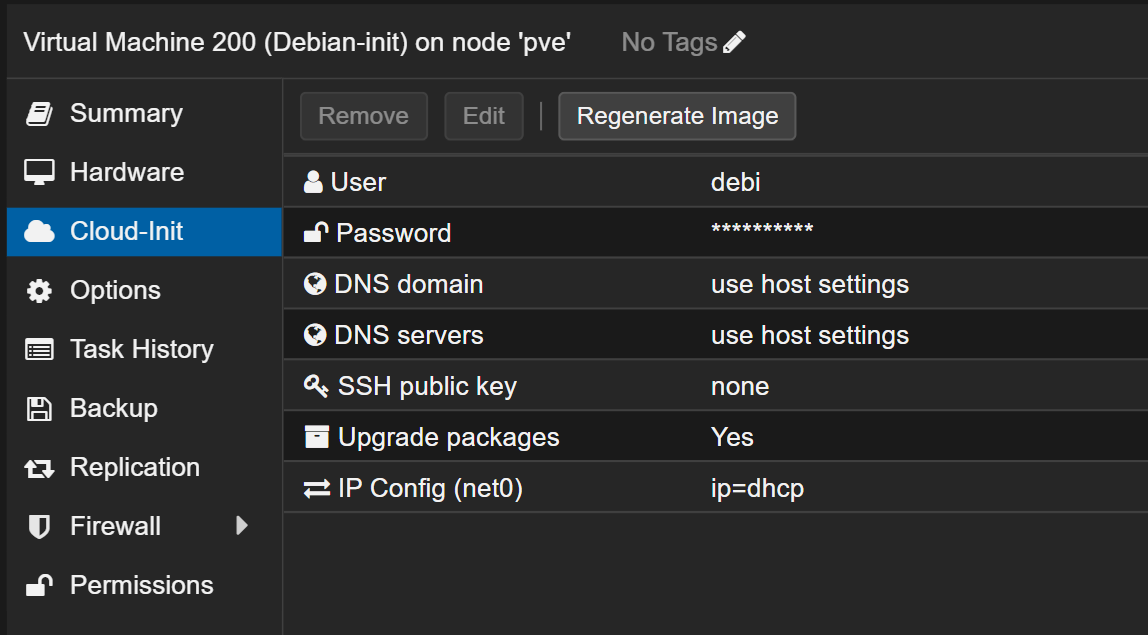
Using Your Cloud-Init Template
To use your new template:
- In the Proxmox web interface, select your template
- Click "Clone"
- Choose between a full clone or a linked clone
- Set a name for the new VM
- Start the new VM
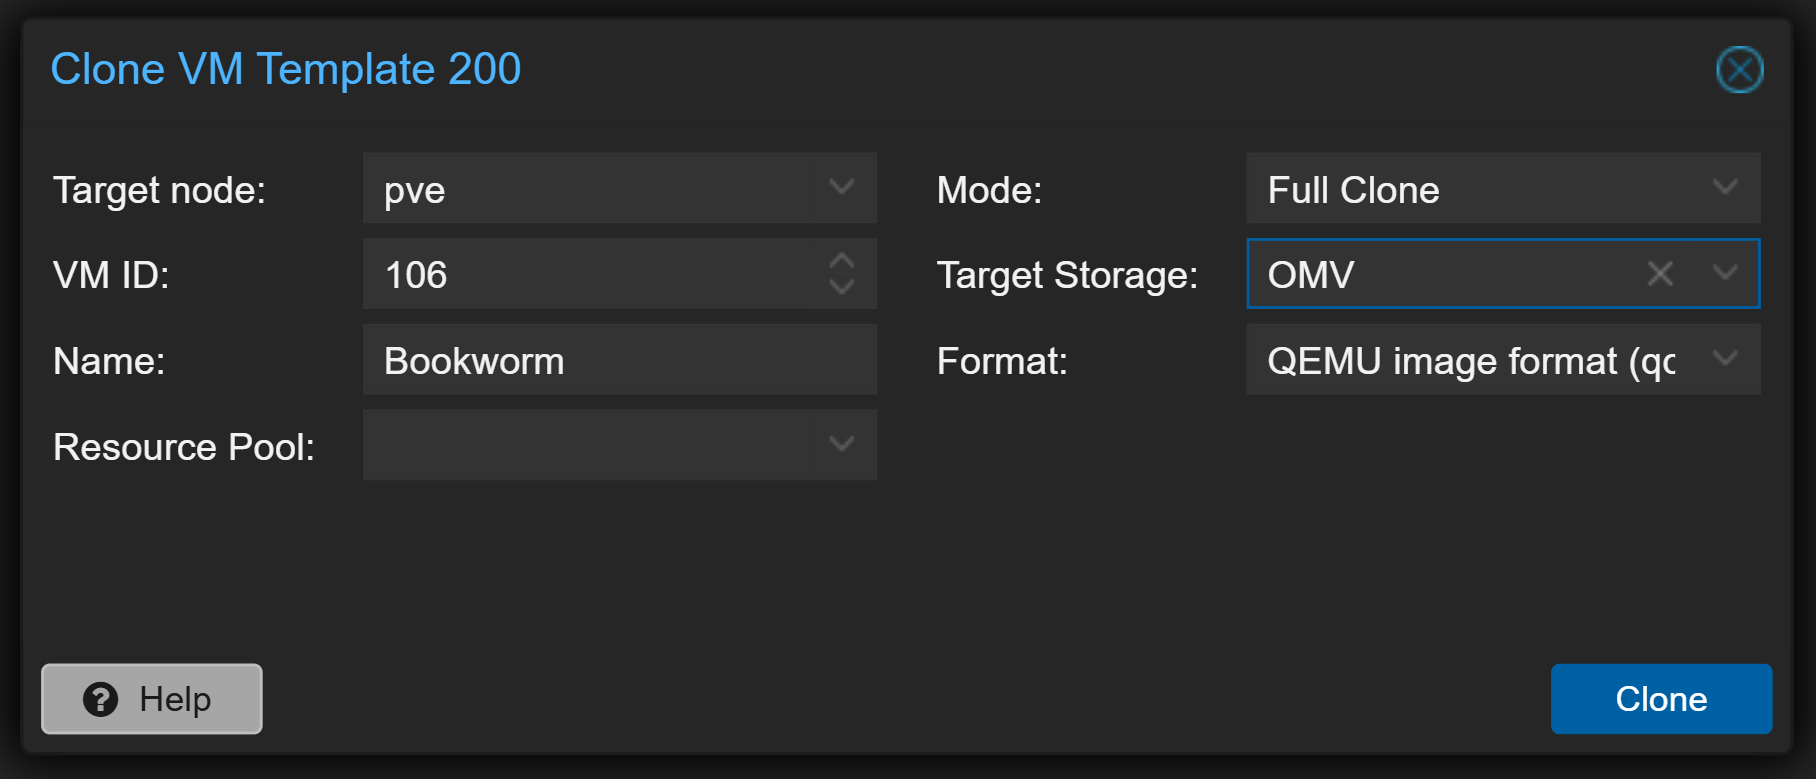
The new VM will boot up with the configurations you set in the cloud-init settings.
Conclusion
By following this guide, you've created a cloud-init template in Proxmox. This allows you to quickly deploy pre-configured VMs, saving time and ensuring consistency across your virtual machines.
Remember to keep your base image updated and adjust the cloud-init settings as needed for different use cases.